BLOG — DUTCHER PHOTOGRAPHY

Advice

Wedding Traditions You Can Skip - The Receiving Line

 
SKBlogHindu-1057.jpg

Why the Receiving Line is Optional

Okay, I'll admit it... I'm not a fan of receiving lines. Generally I'm a very live and let live kind of person when it comes to wedding day planning and preferences, but receiving lines are one thing I think of as being not only optional, but in most cases, better off being skipped! 

Here are a few reasons why receiving lines and I do not get along: 

  • They take forever. Seriously, like forever. And if you're on a tight wedding day timeline, a receiving line could take up to 45 minutes of your post-ceremony picture time (or more), and cut into you enjoying your cocktail hour with your guests! 
  • Receiving lines have very little visual variety, from a photography standpoint. After about the first half dozen pictures of hugging, all the photos look the same because the couple (the subject of the photo) isn't moving, so there's no visual variety to shake things up! 
  • Receiving lines don't just take forever for the couple, but also for their family and friends. Do you know what kids dislike just as much as needing to be quiet for the entire duration of a wedding ceremony? Long lines filled with grown-ups. You know what grown-ups dislike? Also lines. 

I know what you're thinking... "Don't hold back, tell us how you really feel!" But, I'm not all doom and gloom! Here are some nice alternatives to the traditional receiving line that are more comfortable for your guests, and provide more visual variety for your photos, while still ensuring you get to greet everyone and that every aunt in attendance gets to pinch your cheek and give you a hug! 

  • Couples can dismiss guests from their seats. This allows guests to remain seated, rather than awkwardly half-standing/half-sitting like you do when you're trying to get in a traditional receiving line. Dismissing guests from their seats also ends up going a little more quickly than traditional receiving lines, so that's a bonus!
  • Couples can skip both the traditional receiving line and dismissing guests and go straight to any after-ceremony photos so that they can meet back up with guests during the cocktail hour! This plan has a lot of bonuses! For one, you get nicer interactions with your guests after they've had a bathroom break and have drinks and snacks. For two, you get way more visual variety in your photos, and more relaxed, casual and fun interactions with your guests. Win/win!

Regardless of what you decide to do, planning is key, so make sure to build plenty of time into your wedding day schedule for whatever method of guest-greeting you plan on doing, enjoy the day, and feel free to skip the receiving line! 

--Sam 

p.s. If you'd like to read more on planning a wedding day schedule, click here! 


Wedding Traditions You Can Skip - The Wedding Party

 
MonicaDanielWedding-1273.jpg

Why the wedding party is optional 

Now don't get me wrong, I think the world of wedding parties! Whether it's bridesmaids, groomsmen, bridesmen, groomsmaids, or non-binary wedding party pals, the friends who stand up with you at your wedding are a very special group of people. 

In large part, wedding parties are there to help you plan, set up and tear down, and celebrate! In short, they're your wedding support network, helping ease wedding planning stress, helping with random errands, and helping to keep you sane in the months leading up to the wedding.

So why am I saying this tradition is optional? 

Because your friends love you, and will help you anyway if you ask. It's as simple as that!

Here are a few other perks of skipping this particular wedding tradition: 

  • You won't have to pay for occasion-specific dresses or suit rentals and your friends won't have to pay for them either! 
  • You instantly lower your wedding floral budget by cutting down the number of people who will need bouquets and/or boutonnieres!
  •  Avoid the stress of feeling like you're either leaving someone out or that your wedding party is getting too big because you didn't want to leave anyone out
  • No need to worry about between Ceremony & Reception transportation for the entire wedding party (party buses or limousines can get expensive!)
  • Less people to plan for equals less wedding planning stress overall for you!  


With all that said, if the thought of a wedding party is kind of stressing you out, or there are logistical issues, feel free to skip this one, safe in the knowledge that your friends will love and support you with or without the title! 

--Sam 


5 Wedding Budget Tips for Couples

 
Laura_Jereme-1079.jpg

Focus on what is important to the two of you!

Wedding budgets - kind of icky to think about, right? It wasn't my favorite part of the process either, so we wanted to provide some tips to couples looking for ways to reduce costs and focus on what's important about their wedding day; the celebration of their marriage! 

Tip # 1: Pick your top 3 budget items

This is going to look different for every couple, but working with your partner to identify your top 3 budget items will go a long way to helping you prioritize where to spend and where to save during the planning process! For Adam and I, our top 3 were photography (duh), food/drinks, and hotel rooms for our immediate family. For others, it could be venue, wedding planner, and food/drinks, or photography, venue, and flowers. Once you pick your top 3, those can be  your guiding points in decision-making during the planning process, and will help things go a lot more smoothly! 

Tip # 2: Wedding Flowers

If flowers wasn't in your top 3 (see Tip # 1), then this is a great area to save money in. Most cities in the US have farmer's markets where you could pick up flowers the day of, or, if that sounds too risky to you, you could work with a local flower farmer (yes, that's totally a thing) to get a few buckets of flowers that you can arrange yourself, and they can look to meet your color/style preferences where possible. In Madison, Mad Lizzie's Flower Farm is a great place to check out! Depending on the size of your wedding, your flower budget could look a little more like $250 than $2500, depending on the size of your wedding, and if exquisite and specific flowers aren't in your top 3, this is a great way to save while still getting beautiful, fresh flowers. Plus, you're buying local! 

Tip # 3: Wedding Bands and DJs

Again, if this is killer for you, and you want your guests on the dance floor all night, then do it up! We can recommend some great people! But let's say you're not super into dancing, and want a more quiet and intimate reception evening with your guests. If that's the case, don't feel like you need to have a wedding band or DJ just because it's what you usually see. You do you, and if 'you' involves an iPod (do they still make those?) and a playlist you and your person made together, well then that's freaking fantastic, and can save you some cash. :) If you want an intermediate solution, ask a friend to emcee the evening (announcing dinner, first dances, etc.) and then you've got the best of both worlds! 

Tip # 4: Dinner 

Here's a good tip, because even if great food is a super big priority for you and your partner, don't feel like you have to break the bank to provide it! As a person who has eaten a lot of wedding food, let me assure you that more expensive does not necessarily equal better tasting. Sometimes the opposite. You know what people love? Tacos. Pizza. BBQ. You know what's cheaper to provide than fancy plated meals that don't taste that good? Tacos. Pizza. BBQ. If you're in Madison, think of all the great places you could go with! Tex Tubb's Taco Palace has an amazing catering buffet that works for meat eaters, vegans, vegetarians, and those who are gluten sensitive, all without doing anything special! Ian's Pizza is iconic Madison food, and delivers! Smoky Jon's caters (although make sure to have a vegetarian or vegan option if needed)! There are tons of wonderful, local restaurants you can use that will provide fantastic food, at a fraction of the normal 'wedding plated meal' cost. Check them out! 

Tip # 5: Venue

This tip might be more geared towards weddings under 50-60 guests, but is still valid. Wedding venues are expensive, and if you're not attached to a particular venue, then you can get a little creative with where your wedding will take place. Your friend's backyard? Sure! A small local art gallery? Why not! At a State Park? Sign me up! Take into careful consideration whether your off-the-beaten-path venue can comfortably support the number of guests you'd like to invite, but otherwise, go nuts! 

In the end...

The two of you get to decide what's important to you. Figure out what's at the top of your list for your wedding day, and remember that your guests are going to remember celebrating with  you more than they're going to remember anything else, so try not to stress out too much, and just know you don't have to sell your first born in order to have a beautiful and fun wedding day! 

--Sam 


Photography 101: 4 Tips to Get You Started

 
TattooDay-1013.jpg

So you want to get into photography, but aren't sure where to start... 

We've been there, believe me! It can be intimidating to love something a ton, but not be 100% sure (or even 50% sure) how to get started! We've put together some tips for beginners that will give you a great jumping off point! 

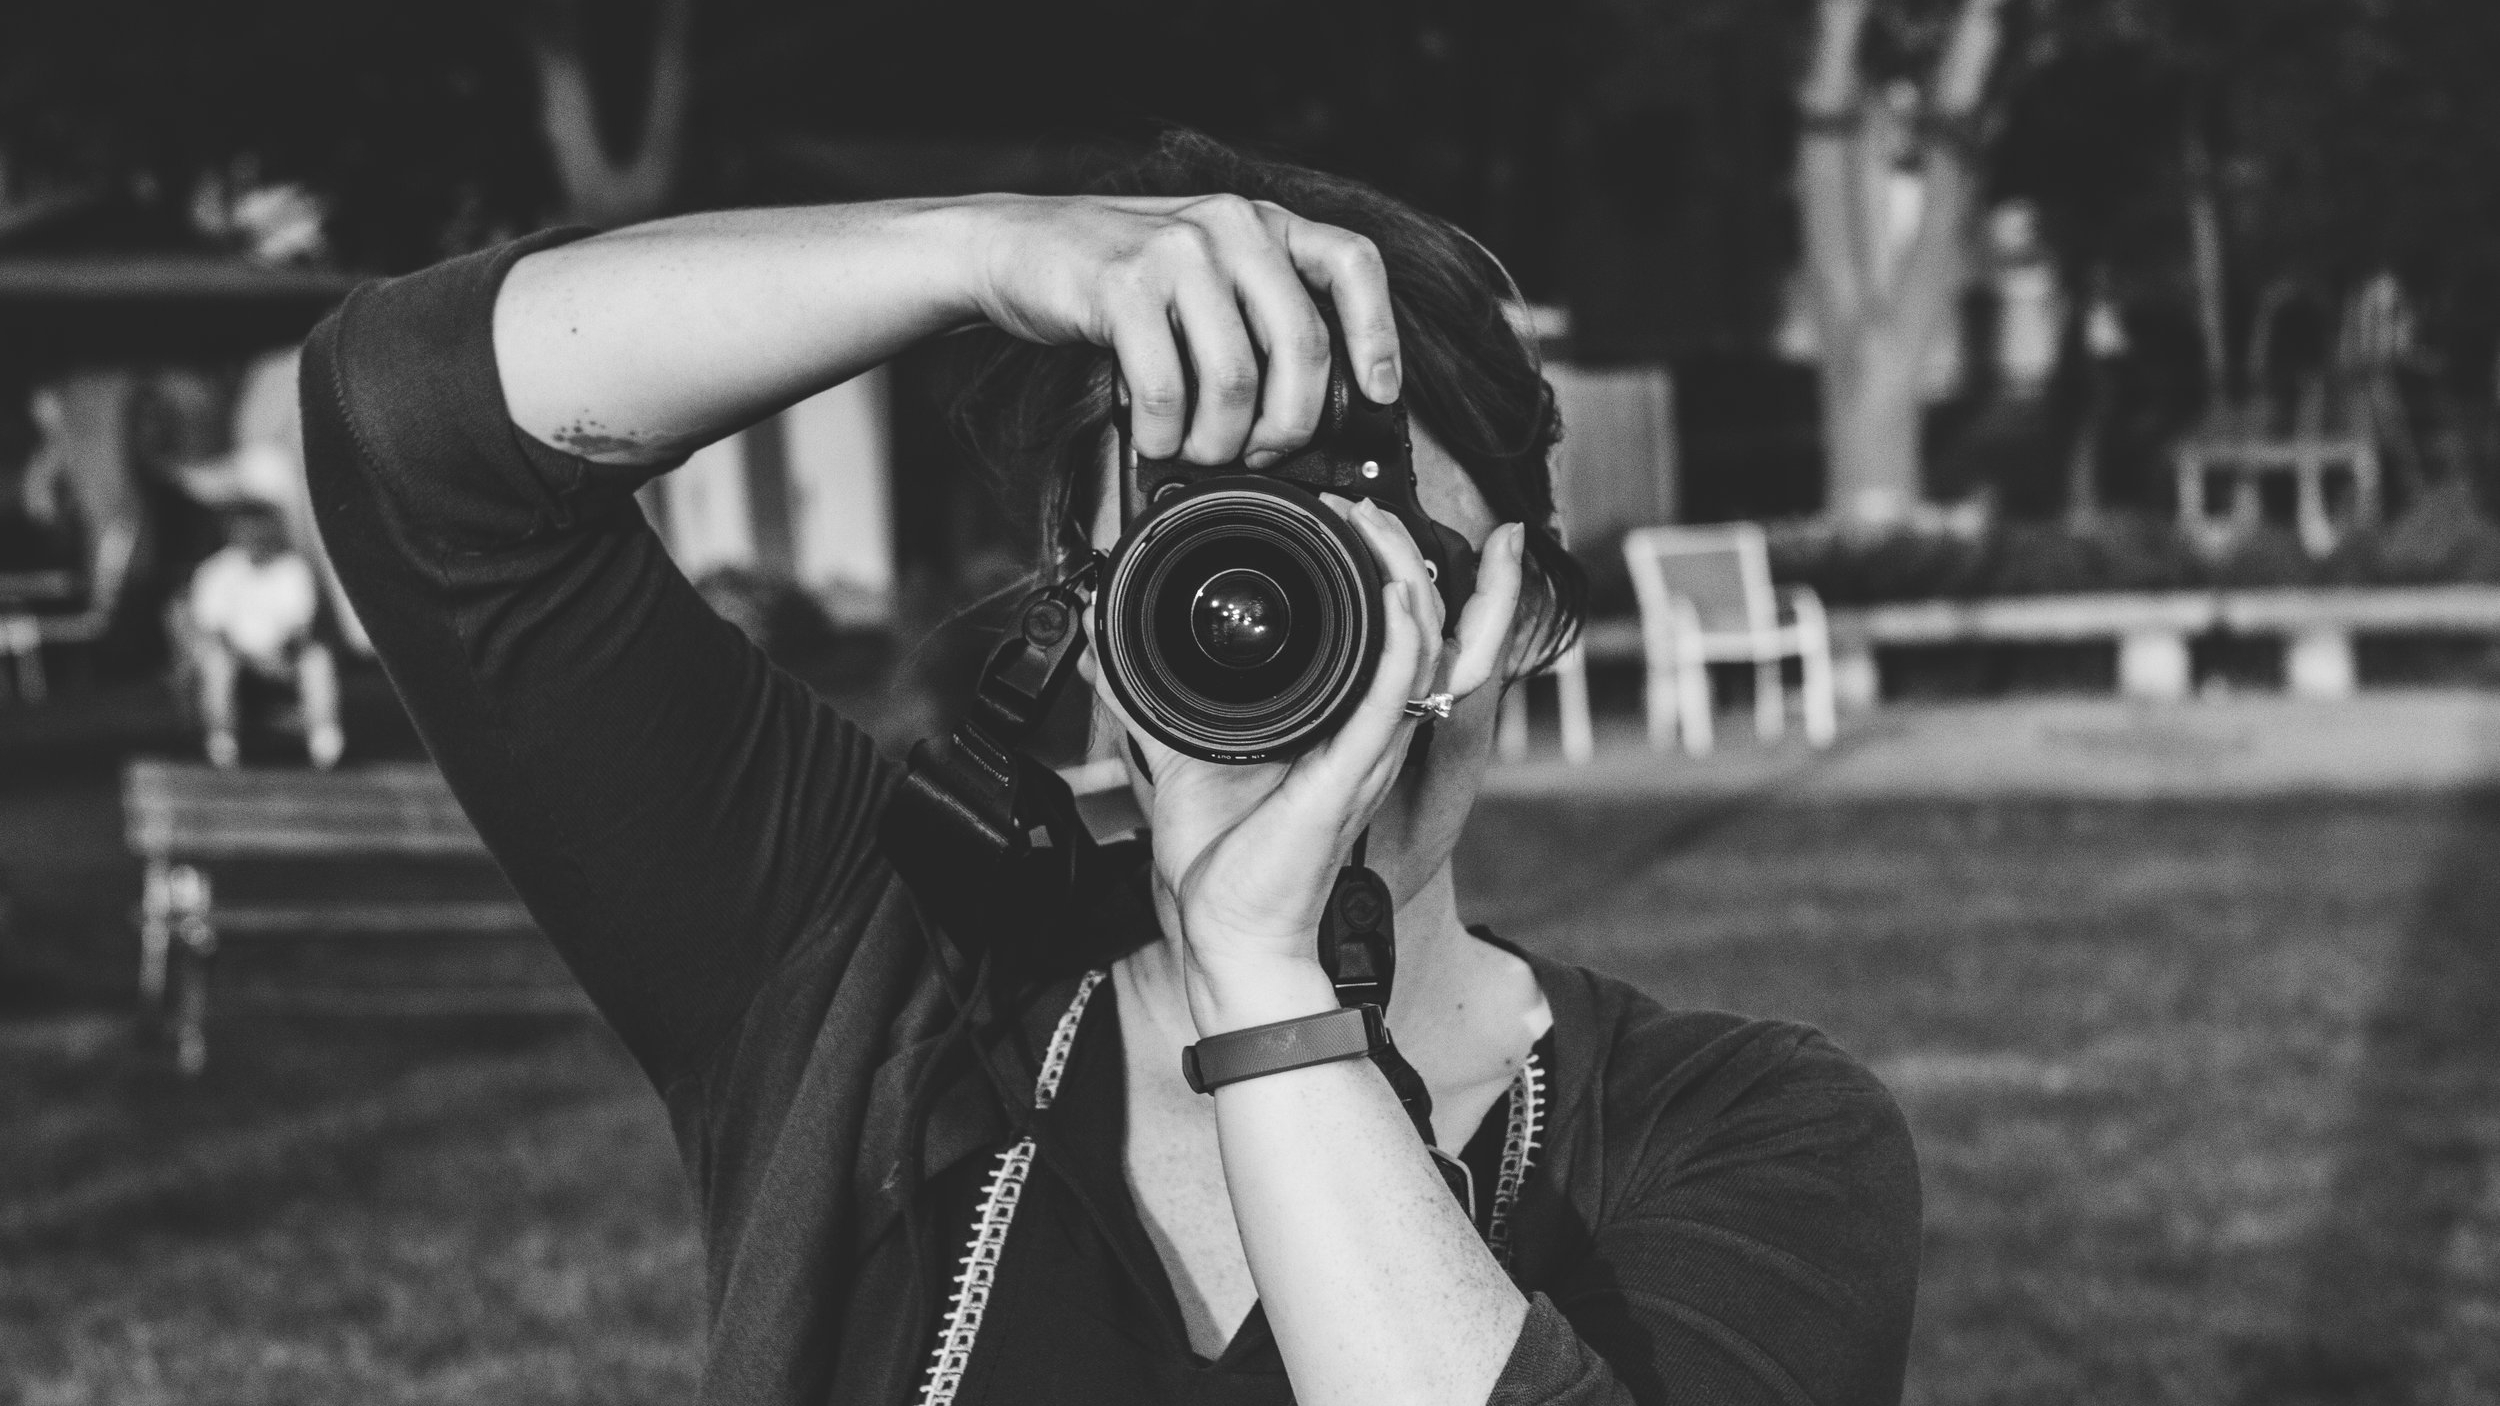
Tip # 1: Getting Started with Equipment 

Our philosophy on photography equipment for beginners is largely that you should focus on practicing with what you have, rather than falling into the trap of thinking better equipment will automatically make you a better photographer (spoiler alert: it won't). That being said, there are some things to think about when it comes to what equipment you might need, and some questions to ask yourself. 

Are you a Nikon or a Canon person? 

Not sure? That's okay! They're both wonderful! We happen to use Canon, so this post will largely feature Canon recommendations, but both have great starter options! B&H Photo, Amazon, and Best Buy all have periodic sales and specials to look out for when it comes to getting started with a DSLR (Digital Single-Lens Reflex) camera! B&H Photo is also a reputable source for used camera equipment, including DSLRs. 

Starter DSLRs for Canon Users: The Canon SL3 / EOS 250D / EOS 200D and up

Starter DLSRs for Nikon Users: The Nikon D3500 and up

Will you be photographing people, landscapes, or close-up macros (flowers, bugs, tiny things, etc.) or a mix of things? 

The answer to this question will determine which type of lens could be right for you. 

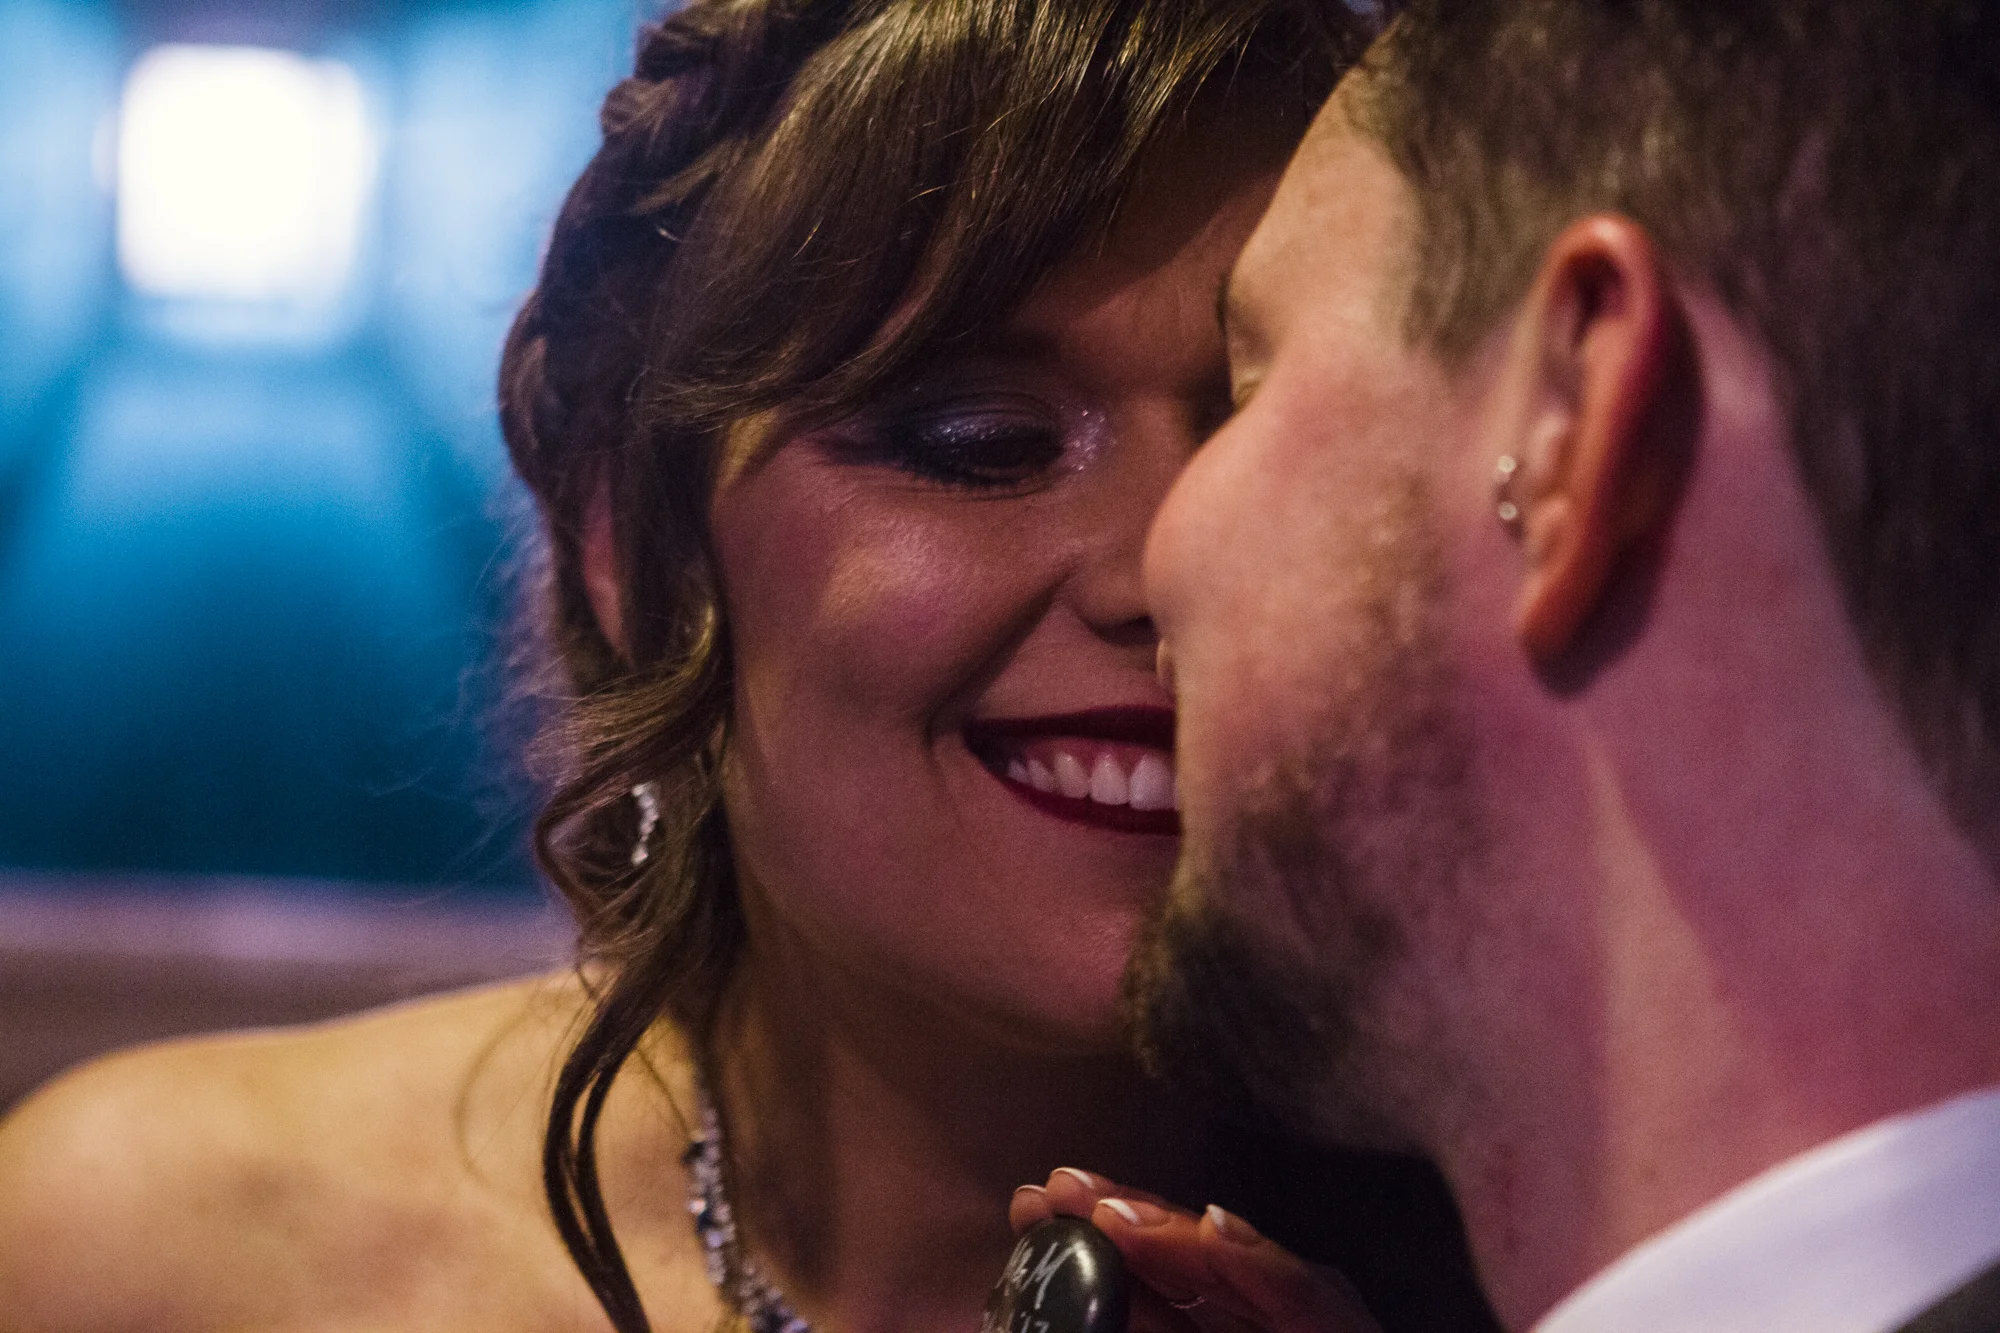
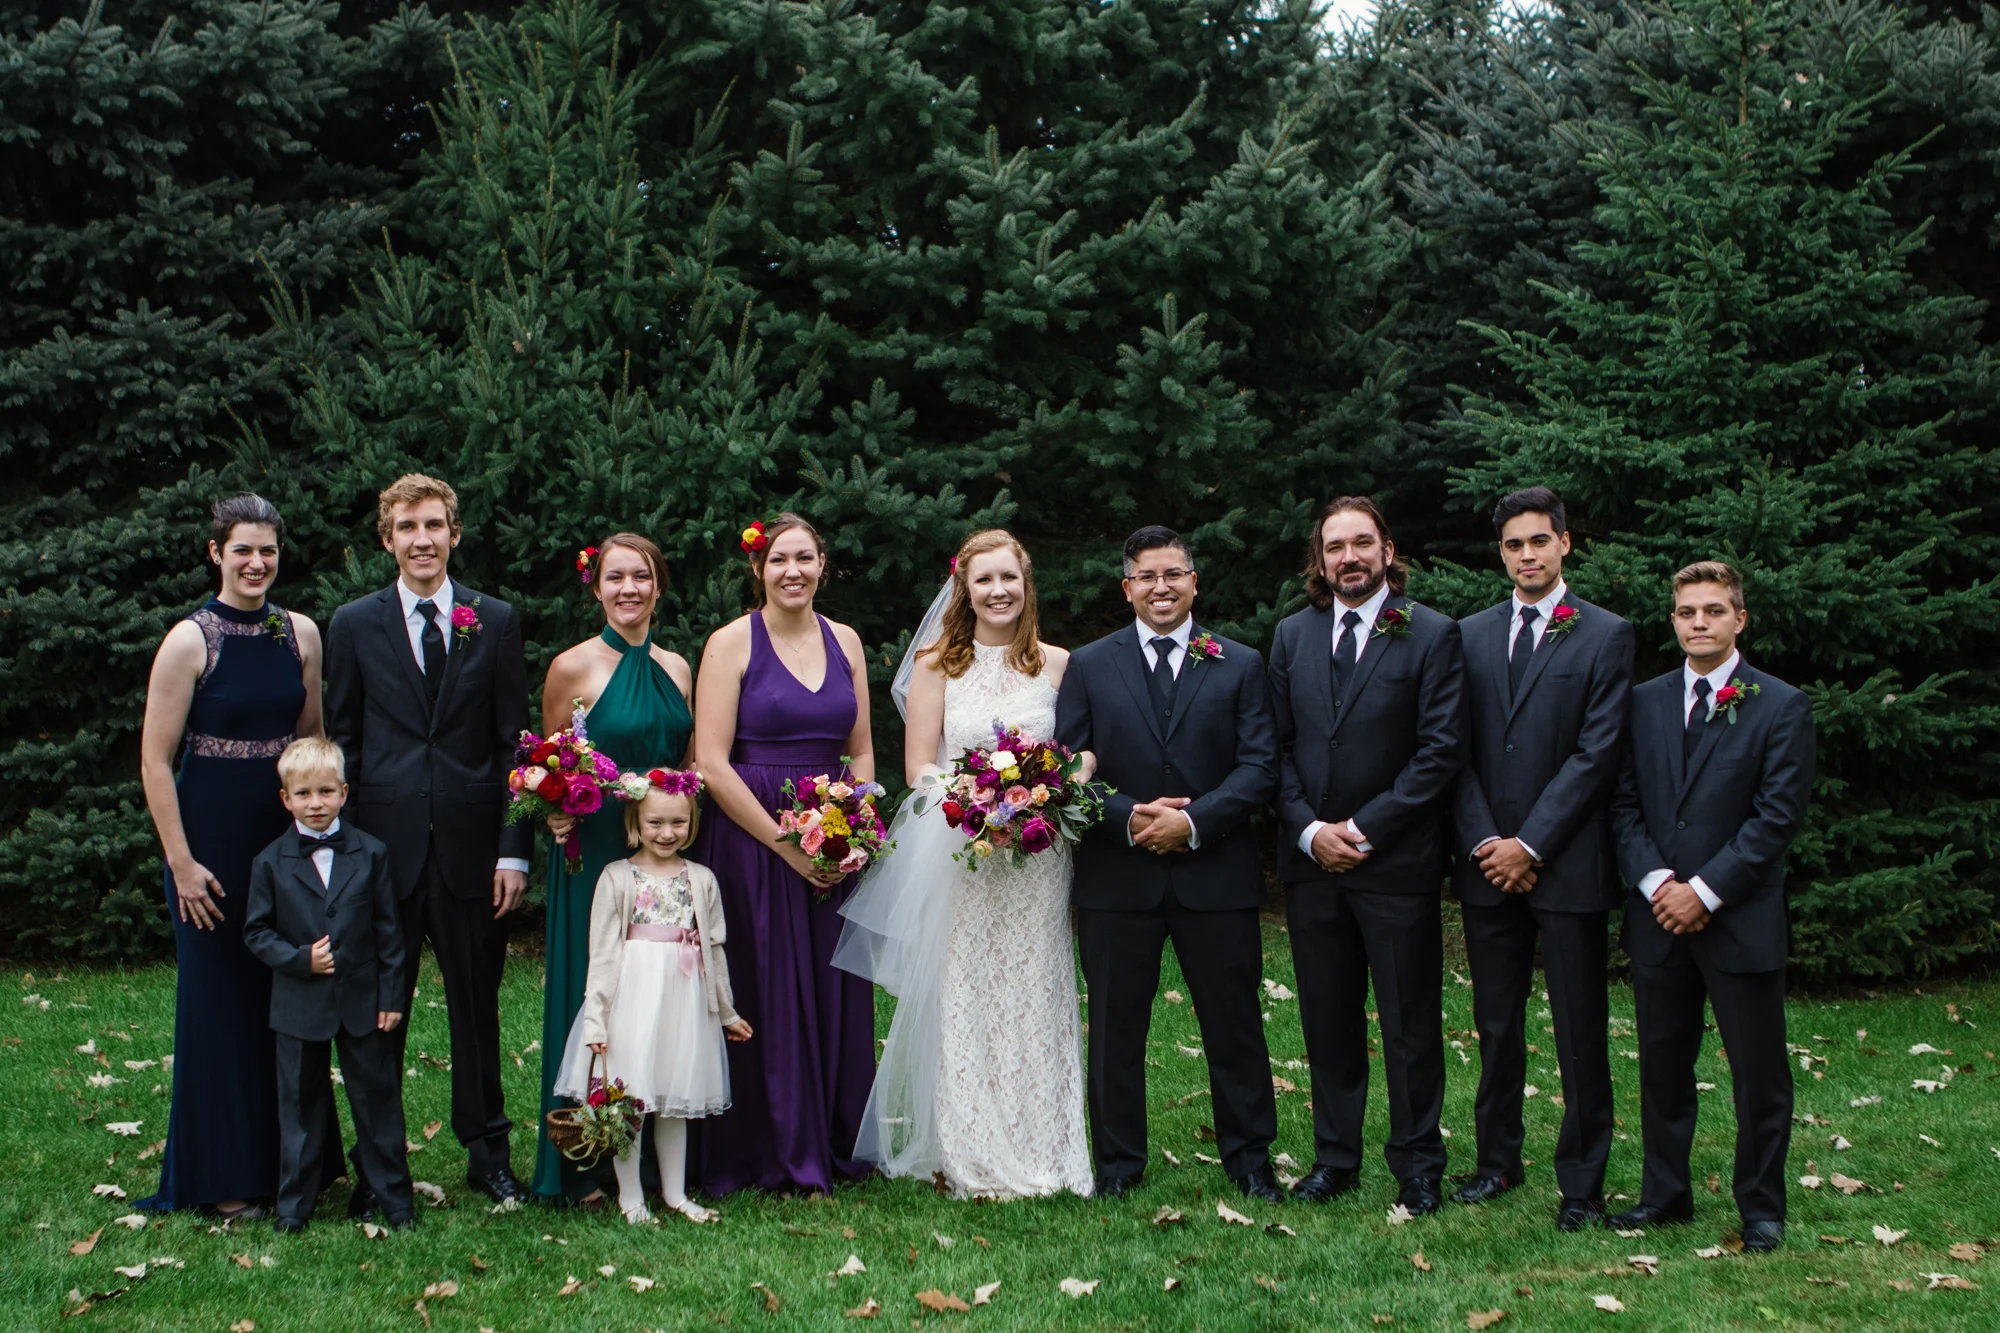
For People and Portrait Photography: A 50mm 1.8f lens is a GREAT portrait lens, does well in lower light, and is an affordable prime lens (prime lenses do not zoom, except the old-fashioned way, which involves you moving closer or further away from your subject).

For Landscape Photography: A wide angle lens is going to work best, generally anything 24mm or wider, with a 2.8f or lower capability.

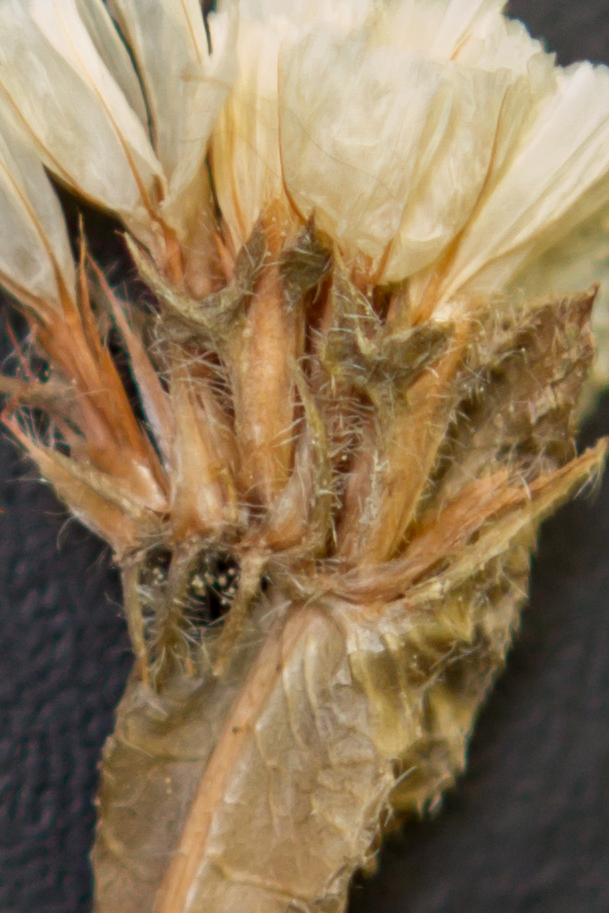
For Macro/Close-Up Photography: A 60mm or 65mm 2.8f macro lens is a great introduction to macro/close-up photography! I would definitely recommend going used on this one, from a reputable source, such as B&H Photo, and if you're purchasing the Canon 60mm 2.8f macro lens, please note that this lens is only compatible with Canon's crop-sensor camera bodies, and is not compatible with full-frame canon cameras (such as the 1D, 5D, or 6D). 

For Mixed-Use Photography: Just can't decide between what type of photography you like? Something like a prime lens 35mm or a zoom lens that can maintain a consistent fstop (aperture) throughout the zoom are great 'all-around' options! We would generally recommend avoiding zoom lenses where the aperture changes depending on how far in or out you are zoomed. 

Will you be primarily photographing indoors or outdoors? 

This will determine if you might need to invest in something like a simple speed-lite or can go without. If you're primarily photographing outdoors, don't worry about off-camera flash for now! If you're primarily photographing indoors, a small speed-lite flash that you can use to bounce flash off of ceilings, and maybe a diffuser could be a good investment. Godox is a great brand for speedlites and the batteries are rechargeable lithium ion batters!

What is your equipment budget? 

If you're a beginner, it may be on the smaller side, and that's okay. What that means is you'll want the best lens for your intended use that fits within your budget. We do not recommend going into debt for your photography equipment. A great way to save is to purchase used equipment from reputable sources. It's a win/win! You can potentially afford "nicer" gear for less money by buying used. A great source for used equipment is the used section at B&H Photo! Check it out here. 

Once you know the answers to these questions, you'll be well on your way to determining what gear you need to get started, and how to budget accordingly. Just remember, just like buying a guitar doesn't make you a great musician, buying all the great gear in the world doesn't make you a photographer if you don't put in the hours and work necessary to hone your craft. There are no shortcuts with art, just passion. 

Tip # 2: Getting Started with Editing

Hey, we get it, editing software is not cheap, and a lot of it, even the professional stuff, isn't all that user-friendly. But editing is a great way to really make your images stand out, and to take your photography to the next level. Our first tip for editing greatness? Shoot in RAW! Then, if you can swing it, Adobe's Creative Cloud offers a subscription that includes Photoshop (not particularly user-friendly if I'm being honest) and Lightroom (freaking amazing, super biased) for under $11 a month. This is a great deal, but it is a subscription model, so if you aren't ready to commit to another monthly bill, then check out free RAW editing software, such as Darktable, which is a great, and free opensource alternative. Last editing-related tip; Try not to go too nuts on filters (But if you do, it's okay. We've all done it). 

Tip # 3: Getting Started with Community

Since we recently did a post on how to connect with other creatives (check it out here), I won't reinvent the wheel here, but suffice it to say that it's easier to stay engaged and enthusiastic about your craft if you've got a good creative community around you! Word of caution though, comparison is the thief of joy, so definitely do surround yourself with an awesome creative community and definitely don't do too much comparison, lest you accidentally discourage yourself. 

Tip # 4: Getting Started with PRACTICE! 

Okay, so, this isn't a sexy tip. I get it. I, too, want to be an awesome rock star without practicing. BUT... That's not how reality works. Or dreams, that's also not how dreams work. And the truth is that you don't get better at something without practicing, and as I mentioned above, having the best gear in the world doesn't mean anything at all if you're not using it. Having the best editing software in the world doesn't matter if you're not figuring out how to use it and experimenting with it, and having a love of photography without actually taking photos makes you a fan (which is also cool), not a photographer. If you want to be a photographer, go photograph stuff. Seriously, it's that simple. Photograph things every day. Find beauty in the overlooked. Figure out what you most love to take photos of, and take more of those kinds of photos. Figure out what scares  you to take photos of, and then take more of those kinds of photos. Take photos of EVERYTHING, and then take some more. You got this! 


Hopefully that gives you a good place to start! These tips are (obviously) not all-inclusive, but stay tuned because we are working on a 'leveling up' version of this post to talk through next steps once you've worked on the items above, and if there is anything at all that you'd love to see us write a future post about, please email us at robandsamphoto@gmail.com and let us know! 

--Sam 


Top 5 Recommended Portrait Locations in Madison, WI


When it comes to any kind of portraits, one of our most frequently asked questions (besides "What do we wear?!", which we cover here) is how to choose a portrait location. In no particular order, here are our top 5 recommendations for portrait locations in and around Madison, WI, with some helpful information about each choice. As always, if you have a spot that is special to you, that is a great choice for portraits! 

1. The UW Arboretum

The UW Arboretum is an amazing gift to the Madison area, and a wonderful place to have photos taken! The expanse of the property has many photo settings to offer, from wide open prairies, to evergreens, to densely wooded areas to lake views. This is one of our all-time favorite spots! We love it so much we pay for the annual photography pass so you don’t need to worry about any additional fees.


2. The Willy Street Neighborhood 

Just as the UW Arboretum offers a wide variety of natural settings, the Willy Street area offers a great variety of more eclectic urban settings, all within short walking distance, including loads of beautiful murals! If you're looking for something a little more offbeat and quirky, the Willy Street area probably has just the place for you! Just make sure you're not planning portraits on festival days! 


3. A Favorite Coffee shop, Restaurant, or Pub

Okay, so this recommendation is a little more personal, because the where is really up to you. Do you have a favorite hangout with your person? Same coffee shop every Saturday or same neighborhood dive bar every Friday? Why not work some of your personal story into your portraits and go to a cherished place for photos, and hey, it's always a great idea to have an inclement weather backup plan in Wiscosnin! 


4. Downtown Madison

It may be obvious from our choices that we like the option for variety! So if you want some variety, there isn't a better place to go than Downtown Madison. The options are practically limitless in the Downtown area; You've got the iconic Capital building, the hustle and bustle of State Street, the classic lake front views of the Memorial Union Terrace, the magic of the Allen Centennial Gardens, and after you're all done, why not get some ice cream from Babcock hall? Just bring your walking shoes!


5. Your Place 

Sure, why not? I know no one really likes cleaning their place before folks come over, but Lifestyle sessions are all the rage, and they're comfortable and meaningful. You don't have to leave your house, you get to hang out with your sweetie or your family and just chill and have fun! You can play board games, you can play Mario Kart, you can snuggle in bed, you can dance around your living room; Whatever you want to do! It's a great way to have more intimate portraits and save yourself some drive time. 

Hopefully this helps gives you some ideas for where you might have your next portrait session, and if you need more ideas, feel free to reach out to us! We love helping folks plan their photographic adventures! 

--Sam 


The Wedding Reception: How to Set Your Photographer Up for Success


You want amazing wedding reception photos, and your photographers want to provide them to you! 

Here are some ways you can help your photographer out, giving them the setup they need to wow you with reception photos! 

Tip # 1: Reserve Seats for Your Photographers

Reserving a seat for your photographers, preferably near the head table, gives them space to set down their heavy equipment, grab drinks of water, and eat a quick meal before the toasts, all within easy line of sight to the head table so that no important impromptu moments are missed! A special vendor table is fine, as long as it's still close to all the action! Even if you aren't assigning seats at your reception, we strongly recommend  you specifically reserve seats for your photographers. 

Tip # 2: Have Your Photographers Eat at the Same Time You Do

Let's face it, no one wants pictures of themselves eating. Having your photographers eat at the same time as you makes certain that there are no pictures of you eating (except at cake cutting time!) and that your photographers are done with their meals well before the toasts begin, so they can be ready to snap away. On that note, please know that every photographer I've ever talked with sure does appreciate the courtesy of a meal on a long work day (remember, there will be no other opportunities for your photographer to eat). It's also a good idea to check with your photographers to see if they have any special dietary needs (Vegetarian, Gluten-Free, etc.) so that they can actually eat the meal you're providing them with. They will absolutely appreciate the courtesy! 

Tip # 3: Follow the Light

Nearly all photographers prefer to shoot by natural light when possible, so if any part of your reception will be during daylight hours, you can take advantage by doing things like setting up the head table across from (not in front of) a window (so that you're well lit, not back-lit), setting up your dessert table in an area that has some pretty natural light, and making sure that all of your family and couples portraits are completed while there is still light to spare! 

Tip # 4: Don't Surprise Your Photographer

If you're, say, having Bucky Badger come and surprise your wedding guests, or having someone jump out of a giant cake, or any number of fun and awesome surprise wedding reception events, just make sure that your photographer is in the loop on what's happening, and when it's happening, so they can best position themselves to get great photos. 

Tip # 5: Designate a Go-To Person

This could be the Best Man, the Maid of Honor, the DJ, the Wedding Planner/Event Coordinator, or just some nice friend, but the person you designate as the go-to person for your photographers should be in know on reception timing and events, and be able to answer questions that arise, so that you can just sit back and relax, and your designated person can answer any questions that arise for your photographers on timing, events, etc. 


If you follow these tips, your photographer will thank you, and you'll also get more amazing photos because of it! 

--Sam 


How to Connect with Other Creatives

 
RadPhotogsDay3Best-1008.jpg

Where to get started

When you're a creative and a small business owner, or looking to move into one or more of those categories, it can feel a little isolating. Doubly so if you're in a season of your entrepreneurial journey where you're struggling or unsure of the next stage in your business. 

Reaching out to other creative entrepreneurs can help you to feel less alone, and like there are folks out there who understand the unique struggles you're going through, and who can celebrate successes with you! 

Here are a few ideas on how to get started: 

The Rising Tide Society

The Rising Tide Society provides affordable small business education opportunities, support for small business owners, and a sense of community the size of an ocean! The mantra of The Rising Tide Society is #CommunityOverCompetition based on the idea that a rising tide lifts all boats. If that weren't enough, their organization facilitates hundreds of Tuesdays Together meetings across the country, which is a chance for you to meet up with local entrepreneurs, talk shop, network, and most importantly, be around other folks who really get what you're going through. Check out both The Rising Tide Society and your local Tuesdays Together meeting, and start connecting with a supportive community of creatives! 

Workshops and Retreats

Having only been to one, I certainly can't speak to all workshops and retreats out there (and I'm willing to bet they're not all as amazing as the one I went to), but I can say that the experience was such an amazing way for me to connect with a group of like-minded badass ladies, and I think making a commitment to dedicating time to your craft, and to connection, can do wonders for your business (and mental) outlook! 

Co-Working Spaces and DIY Clubs

While this might be harder to come by in rural areas, most mid to large sized cities have co-working spaces where you can rent a desk or office space, even as a solo entrepreneur or at-home worker, and get some valuable human interaction time with similarly situated individuals! Or there are also places that are geared towards the maker-scene. In Madison, we've got Sector 67 and the Bodgery as two amazing places for makers looking to connect, and have access to awesome tools and work spaces! 

Online Communities 

Online communities are an amazingly effective and easy way to seek connection with other creative folks, but become crucial for those in more rural areas, or for those that are just dipping their toe in, and aren't quite sure about in-person meet ups. Though to that I say "Come on in! The water is fine!" Still, online communities, including Facebook groups, etc., allow you to connect easily, and on the go, in whatever way you feel most comfortable, with as little or as much commitment as you are able to do, which is nice for those that might make a habit of telling themselves they don't have the time. 


In summary, connecting with other humans is important. And if you're a creative person, and/or a small business owner, it's going to be doubly important for you to connect with folks who really get what you're going through, and the unique challenges that come along with owning a small business or working in a creative field. Do yourself a favor and get out there, even if it's a little out of your comfort zone. I promise it will help you feel more connected not only to a community, but to yourself and your craft. And that's worth leaving the house for! 


7 Wedding Day Traditions You Can Skip


Do what makes sense for the two of you

When it comes to your wedding day, traditions are all fine and well, but it's important to remember that it is your day, and you want to make it a true representation of your personalities. Sometimes, that means skipping more traditional aspects of a wedding day in favor of something that feels more authentic for you and your partner. And that's okay! 

You hereby have our permission (not that you needed it) to skip any wedding traditions that don't feel good for you, but here is a short list of traditions you may not have thought of as optional! 

Tradition #1: The First Look At the Ceremony

Okay, if you've followed the blog (or Instagram, or Facebook, or basically ever talked with us about weddings), you'll know that we're HUGE fans of doing the first look ahead of the ceremony for sooooooo many reasons. Check out a more in depth blog post on this topic here. In short though, this tradition is one you can totally feel safe skipping. Why spend half the day avoiding the person you're about to spend the rest of your life with? Why not see each other early and have a nice, intimate moment to bask in each other before the hectic nature of the wedding day takes over, and then knock your formal photos out before the ceremony even starts, so you can enjoy cocktail hour with your guests? 

Tradition #2: the WEdding Party

Wedding parties, (a.k.a. your bridesmaids, groomsmen, bridesmen, groomsmaids, or non-binary wedding party pals) are awesome for so many things, including supporting you through wedding planning stress, help with random errands, and generally keeping you sane in the months leading up to the wedding. Here's the thing, I promise, your friends will still help you with wedding stuff, even if you don't have an official wedding party. And here are some great reasons to skip the wedding party concept altogether! 

  • No paying for occasion-specific dresses and rentals that will only be worn once (your friends will thank you!) 
  • Instantly lower your wedding florals budget by cutting down on the number of people who will need flowers! 
  • Less people to plan for equals less wedding plan stress for you overall (you can also then skip things like wedding party transportation logistics!) 

Feel free to skip this one, safe in the knowledge that your friends will love and support you with or without the title. 

Tradition #3: the Receiving Line 

This is probably the easiest tradition (in my personal opinion) to skip! From a purely photographic standpoint, there isn't a lot of visual variety to folks standing in a line getting hugged after the first few pictures, and let's face it, even for something as awesome as congratulating a couple who just got married, people hate standing in line! Here are a few alternatives to the traditional receiving line that will make for better pictures, and less line-waiting for your guests! 

  • The couple can dismiss people from their seats, allowing people congrats and hug time then! 
  • The couple can skip a receiving line and have meaningful interactions with their guests during the cocktail hour! 

There are lots of fun options that get you up, moving about, and having awesome conversations with your family and friends! 

Tradition #4: the Wedding Favors 

Yes, I know these are thought of as absolutely 100% mandatory, but you know, other than the getting married part, nothing about a wedding is mandatory. Some people love the idea of giving favors to their guests, and if that's you, then awesome! But if it's not you, remember that your friends and family came to celebrate with you, not for the chocolates, or cards, or whatever other little trinket you could give them. So do yourself a favor (see what I did there?) and skip this tradition if it doesn't speak to you, especially if you're on a budget. If you like the idea of doing something for your guests, but don't like the favor tradition, you can go outside the box and make a charitable donation in honor of each of your guests instead! 

Tradition #5: the Dinner 

Cake and punch receptions are gaining popularity again for a reason. Dinners are super expensive, and as lovely as they are, if you're on a budget, or wanting a more casual wedding day, don't be afraid to opt for the cake and punch or an hors d'oeuvres only reception. Just make sure to let people know what to expect ahead of time. 

Tradition #6: the Wedding Cake

When we think of weddings, we pretty instinctively think of wedding cakes as being quintessential, but take it from me, a person who doesn't like cake all that much, there are so many other options! There are pies, cookies, brownies, ice cream, and other pastries to choose from. So if you're not a cake person either (hi-five!) you're not alone, and you don't need to suffer through cake at your wedding. Pick your favorite dessert, and have at it! 

Tradition #7: the First Dances

You don't have to do anything you want on your wedding day, and if you're not a big fan of public dancing, don't feel pressured to have first dances, or any dances at all! First dances are a great opportunity for pictures, but then again, so are wedding trivia games, lip-synch competitions, and lawn games! So if dancing isn't your thing, it's cool! Figure out what your thing is, and celebrate with your sweetheart and your guests the way that makes you feel comfortable. 

Danielle_Ian-2284.jpg

If you take anything away from this post, let it be that it's your party and you can do, or not do, what you want. Make your wedding as unique as the two of you, and you won't be able to help having an amazing and memorable day, that you can take joy in for the rest of your lives! 

--Sam 


Five Tips for the Perfect Wedding Day Schedule


Wedding Day SCHEDULING 101! 

If you're planning a wedding, creating a wedding day schedule that works well and takes into account all the moving pieces of a wedding day is one of the most important things that you can do to help your day go smoothly. Here are five tips to help you craft the perfect wedding day schedule! 

Tip 1

If you plan on taking any outdoor photos (pretty please take outdoor photos!) then the first thing you want to look at and plan around is sunset. The absolute best time for photos is the hour to hour and a half before sunset. It isn't known as the Magic Hour for nothing! Once you know what time sunset is (and make sure to take Daylight Savings Time into consideration), you know when your most important photo window is and can plan accordingly! The Magic Hour is the best time for formal photos and more intimate couples photos. 

Tip 2

Let your vendors help you! Even if you don't have a wedding planner, I can guarantee that your wedding vendors (photographer, venue, DJ, caterer, etc.) will all have some great advice on how to make the most out of your time. After all, the reason you hired them is that they are experts on weddings, so why not tap into those resources to get advice on your timeline? Your photographer is going to be your go-to person for planning the timeline up through cocktail hour, while your DJ (and your caterer/venue) is going to be your best resource for planning the events and timeline of your reception. 

Tip 3

Do you plan to do a first look? We're BIG fans of first look photos (click here for a more in depth discussion of why we love first look photos!) If you are planning on doing a first look, this frees up your timeline, and allows you more flexibility with your schedule to do things like knock out formal photos before the ceremony so you can enjoy your cocktail hour afterward. Also, you won't have to spend half the day avoiding the person you're about to spend the rest of your life with! 

Tip 4

Consider skipping the traditional receiving line so that you can spend more time mingling with guests in a meaningful way either at the cocktail hour or the reception! Your photos will have more visual variety, and you won't spend a half an hour to an hour standing in one place shaking hands! 

Tip 5

While every photographer is different, we ask our couples to plan for at least 30 minutes for photos of just the two of them, 30 minutes for wedding party shots, and 20 minutes for family shots. (Most couples only include parents, grandparents, and siblings so this is totally feasible within that timeframe!) Mileage will vary depending on each couple's circumstances, wedding party size, and a whole host of other factors. This is where (per tip #2) vendors can really come in handy to make suggestions that are relevant to your unique situation! 

We hope these tips help you as you start looking at your wedding day schedule, and happy planning! 

-- Sam 


Equipment Review: Canon 24-70 mm 2.8 Lens


Equipment Introductions with Rob

Today I'm introducing the Canon EF 24-70mm f/2.8L.  We call it a Walk Around Lens; Walk Around Lenses being our favorite lenses for multiple conditions.  At a little over two pounds, the 24-70 is not our lightest lens, but its versatility makes it worth the haul for weddings.  It syncs well with our Speedlite 600EX-RT flashes (look for a future review), but as a f/2.8 it does well in lower light situations as well, and also has some macro capabilities when at full zoom.

Great For The Following:  

  • Wedding Photography
  • Portraits
  • Family Formals or Large Group Photography
  • Macro Photography (if you can't yet invest in a Macro lens) 

Would Not Recommend For:

  • Street Photography (too bulky) 
  • Sharp Wide Angle Shots
  • Super Low Light 

Outside of the convenience and quality afforded by this zoom lens, it's worth noting that the focus is sharpest when zoomed all the way in.

I took this picture of a dried flower on my Field Notes, zoomed all the way out to 24mm:


However, as shown in the picture below, the sharpness does not lend itself to cropping during editing:


Keeping all other things the same, I zoomed to 70mm:


The refinement gained really pays off in editing:


There's no definition to those hairs at 28mm.  Are tiny hairs on a dried flower often important during a wedding?  No, not really, but you can only edit what you record.  If the subject of photograph is the details, you are better off if you keep in mind to shoot at 70mm with this lens.  Rarely when moving within crowds am I looking for that level of detail; the ability to pull back to 28mm allows me to capture more of the spirit of things without being obtrusive.  The ability to slide back and forth between these strengths is what makes this such a fantastic lens for weddings.

Stay tuned for more equipment reviews from me in the coming weeks, and check out the album below, all taken with the 24-70. 

--Rob 


The Importance of Photo Editing


Hint: It's VERY important! 

My current profession, in some ways, is very similar to my old profession as a coffee-slinging Barista. In either of those careers, there is an artist who crafts her masterpiece with love and tailors it to suit the needs of the individual customer. 

I won't go into the complexities of how such a feat is accomplished with coffee, although I could, but I do want to dive into the creative processing that goes into infusing a digital image with enough heart to make people gasp and smile from ear to ear when they see it. 

So let's start at the beginning...

A person paying for photography services often thinks of their interaction with the photographer (emails, phone calls, pre-event consultations, the day of the wedding, the hour long portrait session, etc.) as the bulk of the photographer's working day, and that when they are paying a photographer, they are paying them just for the time they 'show up', but that couldn't be further from the truth. I can't speak for other photographers, but for Rob and I, we expect that for every one hour of photography there will be four to eight hours of editing and post-processing, and other miscellaneous business tasks associated with that event or session.  

So yes, technically I suppose we do get paid to show up. But just showing up, while monumentally important, isn't where the magic happens. Magic happens when you, as the photographer, establish a connection with your customer, and then in turn with any of their friends and family that you interact with. Magic happens when you use that collaborative connection with your customer to influence the way you edit and present your work to them. You take what you've learned about them, their preferences, their motivations, the things that make them excited, to help you present them with a better finished product. One that is uniquely theirs, and completed with their happiness and wonderment in mind. And doing that, being open to the individual needs and desires of each person you work with, is not always easy, but it is rewarding. It is joyful. It is magic! And that is what you're really getting for your investment. 

I've got plenty of other blog posts (both already on this blog and also in my brain) about what the actual wedding or portrait session is like, so I won't spend too much time on that, and I'll skip straight to post-processing, and why it's important to the overall finished product, and how it is an extension of our connection with each customer. 

As a photographer, there is a fine line between presenting things as they happened and presenting things as they felt. We edit pictures for the emotion. For how the moment felt when I was there, and how I imagine, using the superpower of empathy, the moment felt to those who were more actively participating in it. I'll show you an example of what I mean. 

Here is one example of the original, unedited picture of ours (you should feel super special right now because I never show unedited photos to anyone): 

Good picture, even if the shade we were in made it a bit dark. But the title picture for this post, the edited version of the above photo, is the way I remember that moment feeling.

Our goal isn't to be entirely accurate about the way things looked at the time I took the photo, our goal is to capture how things felt. To capture the essence of the moment, of the person, of the day, and distill it into something you will want to look at over and over and over again, because it reminds you of a feeling and because it brings that feeling back. 

The reason post-processing takes so much time, and is so valuable, is that with each photo, we're gauging what subtle adjustments would allow the emotion of the moment to shine through. Things like crop, white balance, brightness, contrast, and color versus black and white all determine how a finished photo feels when you look at it. Rob and I don't do any batch editing. None at all. Zip. We lovingly edit each individual photo that makes the cut, to perfectly capture all of the beautiful things that were happening at the time we took the original photo, both the tangible and the intangible. 

Nearly anyone these days can pick up a camera and snap some pictures. What is valuable and fulfilling about what we do is the artistry and effort that goes into taking those photos and creating something more than just a snapshot. Creating something you will cherish, something that will take you back to that perfect (or wonderfully imperfect) moment and fill you with all the love, hope, and joy of that moment all over again. 

That, right there, is priceless. 

--Sam

p.s. Enjoy a few before/after examples that show the power of editing! 


Formal Shot Lists: A How-To Guide


Your wedding day is fast approaching, and you're humming along, taking care of all the final details leading up to the big day. Go you! But now you're staring at your to-do list and you see an item you've been skipping over for the last few days (okay, weeks); The formal shot list. 

What is a formal shot list? It's a list of must-have formal (i.e. posed) photos to be taken with your family and wedding party either immediately before, or immediately after, the ceremony. (I vote for before, in case you're wondering.) 

You've been putting it off in part because you're just not sure what to include! You know you don't want to be taking formal photos for forever, but you also don't want to miss anything important. 

First, let's dispel a few myths about formal photos, then we'll get into the meat and potatoes (or tofu and potatoes, for my fellow vegetarian friends) of how to craft the perfect formal shot list! 


Myth #1: You should always include extended family in your formal shot list.

Reality: The reality is that most formal shot lists only need to include your immediate family (parents, siblings, nieces, & nephews) and any living grandparents or godparents. The larger the group of people, the tinier the faces are in the photos, the more likely it is that someone (or multiple someones) will be blinking, the longer the photos take, and the likelier it is that folks will be cranky when they're done (or before they're done in some cases, *ahem* Uncle Joe *cough cough*).

What You Can Do: You can choose to only include your immediate family and any living grandparents or godparents, as well as your officiant, in your formal photos, and rely on capturing fun, candid, and real moments of your extended family throughout the reception. This helps formal photos go by quickly, and makes sure your time is spent connecting with people, instead of standing in a line not talking to them! 


Myth #2: The family who are in pictures will know that they're supposed to be in pictures. 

Reality: Sadly this is just not accurate (and we really wish it were!). Other than perhaps your parents, the rest of your family will have no idea if they're supposed to be in pictures or not. They also will not know when to show up for pictures, and even if they do, not all of them will be on time. 

What You Can Do: To make sure everyone is on the same page, email or message your formal shot list to all family members who will be taking part. Let them know where they should meet for formal photos, and tell them to arrive 15 minutes before the photo start time to give yourself some wiggle room. 


Myth #3: Formal Photos are boring. 

Reality: Okay, this one has a kernel of truth, because, let's face it, a lot of times formal photos can be a little boring. But they don't have to be! A lot of this depends on what's important to you during formal photos, the number of photos you need to get through, and the number of people in the photos. The smaller the number of people (immediate family, grandparents, godparents, and officiant only for instance) the more time you'll have to get a little creative! 

What You Can Do: The easiest way to shake things up a bit is to do something fun with your wedding party photos! Consider other locations within easy driving or walking distance (notable places nearby make for great photo opportunities!) If you have immediate family members (or grandparents and godparents) who have mobility issues, or families with young children who would have a hard time traveling to other locations for photos, consider doing your family photos before the wedding party photos so that once your family members are done, they can rest, take a break, or just head to their next destination a little early! Then get the rest of the gang to a fun spot to hang out, and take some more candid photos, like at a local pub for a round of drinks, a favorite hangout spot for coffee, or an iconic spot nearby (Capitol Building or Memorial Union Terrace in Madison, anyone?) 


Okay, now that we've dispelled a few common formal shot list myths, let's talk about how to build your own wedding formal shot list! 

  • First, look at what formal photos will be most important to you, and who should be in them

    • Tip: Consider limiting your formal shot list to immediate family, grandparents, godparents, and officiant to allow for more time in your day, and less cranky extended families being kept from appetizers! 

  • Once you have your list of people, type up your list of photos, making sure to list each person by name, and how they're related to you

    • Example:

      • Bride, Groom with Jake & Sara (Bride's Parents) and Emily (Bride's Sister)

      • Bride, Groom with Jake & Sara (Bride's Parents)

      • Bride, Groom with both sets of parents

      • Bride, Groom with Bill & Anne (Groom's Parents) 

      • Bride, Groom with Bill & Anne (Groom's Parents) and John & Tara (Groom's Siblings)

  • Once you have your list of photos, try rearranging them in order of most number of people to least number of people (first on your side, then on your partner's side, or vice versa) so that folks who are only in one or two photos can be done sooner 

  • Consider where you would like the photos to be taken (and when!) 

    • Tip: Busy backgrounds can detract from formal images, so think of places where there can be an unobtrusive background (such as a row of evergreens, the front of a church, in front of an autumn field)

    • Tip: If you will have more than 10-12 people in a single photo, it's good to also look for places that have stairs so that folks can be staggered for the photo! 

  • Consider if you would like to go to any additional locations with you and your partner or your whole wedding party! This can be a super fun way to get in some non-traditional pictures with your closest friends and best wedding-day cheerleaders! 

  • Share the list with your photographer first to see if they have any suggestions or input

  • Once you've chosen a place and time for your formal photos (and any wedding party photos taking place at a different location) and run that list by your photographer, make sure to communicate that info clearly (and often!) with the necessary family members and wedding party members so that things go smoothly on the big day! 

I hope this helps demystify formal shot lists, and helps give you the confidence you need to craft yours to be exactly what you want it to be, and still have time to do all the fun things on your wedding day!

-- Sam